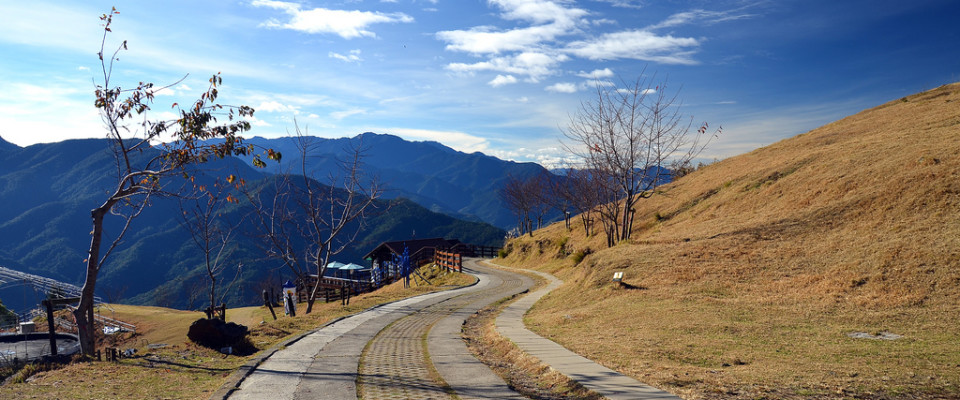
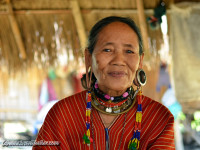
Photo of morning glory of highland
30 December 2013
The best portrait lens for DSLR
07 December 2013

Model shooting photo at KL Photo Festival 2013
27 October 2013
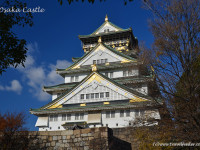
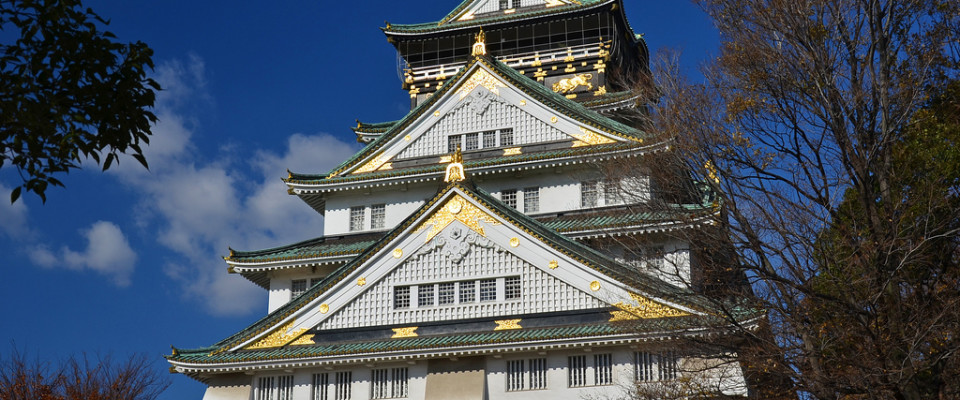
Photo collection – Japanese Castle in Autumn
23 August 2013

Photo collection – Sunset in downtown Seoul, Korea
14 July 2013
I am Cecil Lee and this is my photography blog
12 January 2013

How to Take Fun Vacation Photos: Ready, Point, and Shoot!
27 December 2012
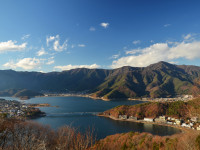
Photo Collection – Lake Kawaguchiko, Fuji five Lakes
21 December 2012